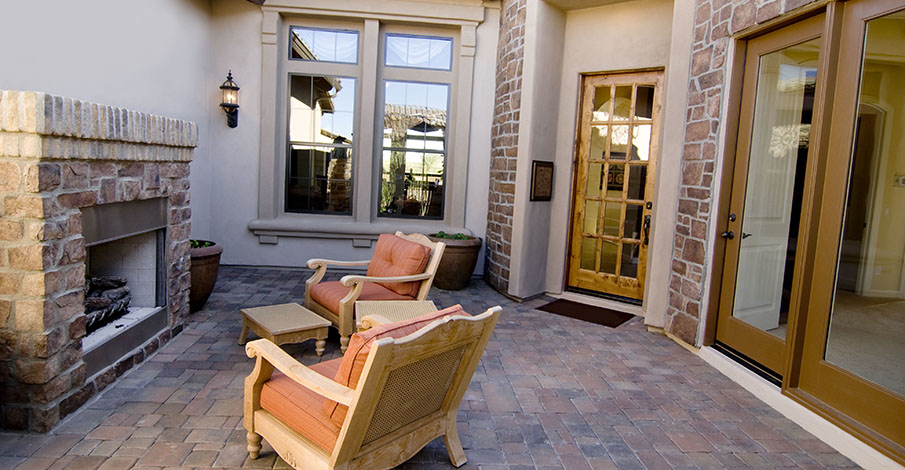
Are you planning to build a patio to add value to your home? When you‘ll talk to a backyard patio builder, you’ll realize that you have a few choices when it comes to the material to use for the purpose. One of the most popular of which is slate. Let us take you through its installation process.
Clear The Area Of The Installation So You Have Space To Work
In order to allow you to properly build your slate patio, the first thing you’ll need is unhindered access to the space where you are planning to put it, as well as some area around the region to allow you to put the raw materials and tools at a hands reach away during the construction.
Level The Area Using A Rake And Remove Any Soil In Excess
Once the place is vacant, it is time to prepare it for being converted into a slate patio, and that means evening out the space completely with the help of a rake. Remove any small pebbles and excess soil from the area and make sure that the ground is tightly packed to prevent shifting.
Use 2x4s To Create A Frame For Where The Patio Will Be Go
These planks are inexpensive and they will make your job much easier by segregating the workspace.
Add A Layer Of Gravel In The Frame & Pack It Evenly All Over
To further reduce the chances of the soil shifting underneath the patio, you must add a layer of gravel and pack it tightly without any gaps, on top of which the actual slate tiles will be glued.
Choose From The Hundreds Of Tile Patterns At Your Disposal
At this point, you can go ahead and pick a tile design of your choice that you think will go well with the overall theme of your home. You will find a plethora of color options, as well as different patterns whose designs ranges from chic and funky to ultramodern and elegant.
Cut The Tiles To Size To Ensure They Compactly Fit On The Slab
With the design finalized, it’s now time to get to work on cutting the tiles in order to achieve the final look of a stunning patio as you intended. Remember to start from the center and spread out from there. Typically only the tiles at the edges are cut, but you can do it however you see fit.
Create A Mix Of Mortar To Help The Slate Adhere To Its Base
After a test run placing the tiles onto the bed of gravel and cutting everything down to size, it is now time for the actual application. But before you can do that, you’ll need to create the mortar mix and apply a thin set layer of it onto the gravel bed in order to allow the tiles to actually stick to the base. Make sure that you follow the instructions given on the package of the mortar mix, and remember to work fast as the mixture is designed to harden as soon as the water in it evaporates.
Apply A Thin Layer Of Mortar To The Base Using A Trowel Tool
So you’ve properly followed the instructions and have gotten your mortar mix ready, but how do you apply it now? First of all you’ll need the proper tool: a trowel. Once again you start from the center and then evenly spread out to all four corners.
Set The Tiles Onto The Applied Mortar Quickly Before It Sets
With the layer of mortar applied, you don’t have a lot of time to ponder as it will dry up real quick so you have to act before that happens. Set the tiles as you previously decided in step 6 making sure to leave no gap in between.
Apply Grout Between The Spaces In The Tile For Smoothness
Once you’re done with the tile placement, all that’s left to do now is to seal the slate in place by applying grout in between any gaps you see, with the help of a sponge. And that’s it. Just wait until it all dries up and then give you a new slate patio a good wash and you’ll have a spanking new exterior. We recommend to hire an experienced patio contractor Long Island to have a seamless experience.